


It’s never too late to learn a new skill- it’s what keeps our minds young! If you’re looking to impress your family and friends, learning to install an electrical outlet could be just the way to do that. Changing your own outlets can also save you a lot of money (just be sure to do it correctly, or it could instead cost you a lot of money.
Before you do anything, you need to make sure that you turn off the power to the switch itself. You can use a headlamp or flashlight if the breaker box is in a dark location. DO NOT FORGET THIS STEP.
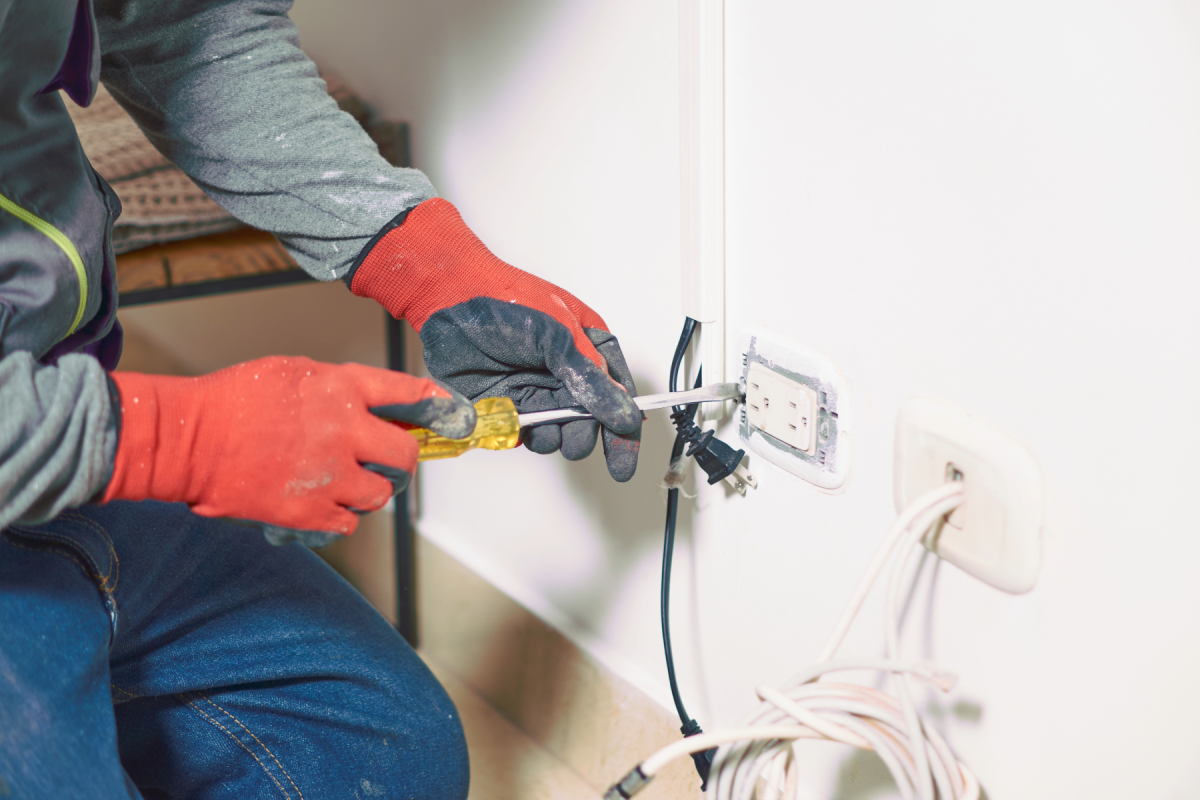
Here are the steps on how to wire up an outlet. You definitely need to know that the white wires are positive, the black wires are negative, and the copper wire is the ground. First, you have to get all of your wires straight. Second, use your wire cutters and cut the plastic outer layer. FYI, there is a template that shows how much of the outer layer you’re supposed to remove. Third, there are five screws on the sides of an outlet. The two darker colored screws are for the black wires, the two gold screws are for the white wires, and the green screw is for the copper wire. Fourth, use the tip of your wire cutters to bend the wire into a circle that fits underneath the screw, then keep the wire tight while screwing in the screws. Also, it is not a bad idea to use electrical tape to cover the outlet’s exterior. This helps keep everything together and keep it secure. Finally, you take your screwdriver, and you screw the outlet into its case in the wall. There should be about four screws. Then once it’s all securely fastened, you can turn the breaker on and give it a test.
Once again, safety should be your number one priority!